About commits
Similar to saving a file that's been edited, a commit records changes to one or more files in your branch. Git assigns each commit a unique ID, called a SHA or hash, that identifies:
- The specific changes
- When the changes were made
- Who created the changes
When you make a commit, you must include a commit message that briefly describes the changes. You can also add a co-author on any commits you collaborate on.
If the commits you make in GitHub Desktop are associated with the wrong account on GitHub, update the email address in your Git configuration using GitHub Desktop. For more information, see "Configuring Git for GitHub Desktop."
1. Choosing a branch and making changes
- Create a new branch, or select an existing branch by clicking Current Branch on the toolbar and selecting the branch from the list.

- Using your favorite text editor, such as Atom, make the necessary changes to files in your project.
2. Selecting changes to include in a commit
As you make changes to files in your text editor and save them locally, you will also see the changes in GitHub Desktop.
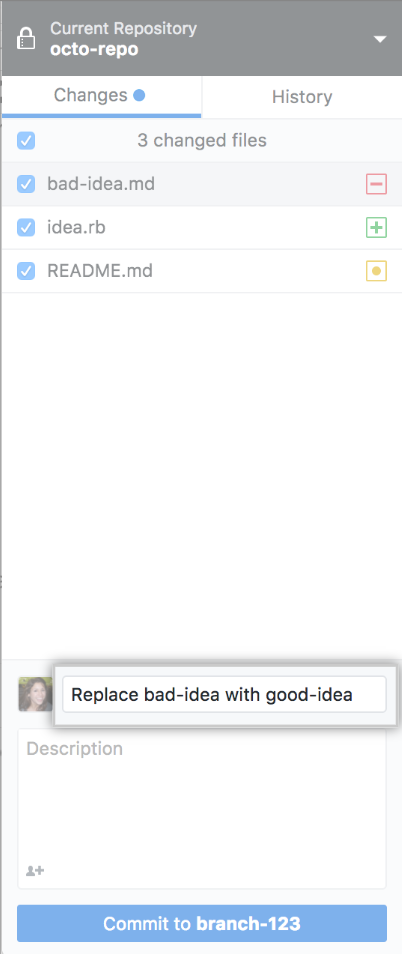
- The red icon indicates removed files.
- The yellow icon indicates modified files.
- The green icon indicates added files.
- To access stashed changes, click Stashed Changes.

- To add all changes in all files to a single commit, keep the checkbox at the top of the list selected.
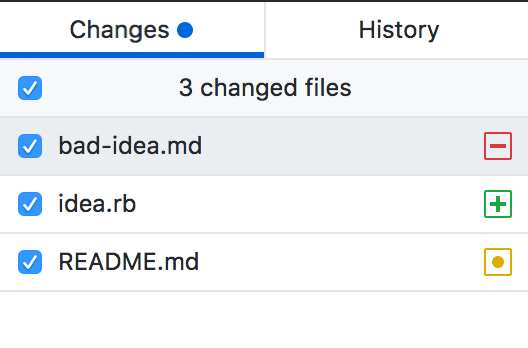
- To add all changes in one or more files to a single commit, unselect the checkboxes next to the files you don't want included, leaving only the files you want in the commit. You can toggle the checkbox with the
SpacebarorEnterkeys after selecting a file.
Creating a partial commit
If one file contains multiple changes, but you only want some of those changes to be included in a commit, you can create a partial commit. The rest of your changes will remain intact, so that you can make additional modifications and commits. This allows you to make separate, meaningful commits, such as keeping line break changes in a commit separate from code or prose changes.
When you review the diff of the file, the lines that will be included in the commit are highlighted in blue. To exclude the change, click the changed line so the blue disappears.

Discarding changes
You can discard all the uncommitted changes in one file, a range of files, or discard all changes in all files since the last commit.
- In the list of changed files, select the files where you want to discard the changes since the last commit. To select multiple files, click
shiftand click on the range of files you want to discard changes from.
- Click Discard Changes or Discard Selected Changes to discard changes to one or more files, or Discard All Changes to discard changes to all files since the last commit.
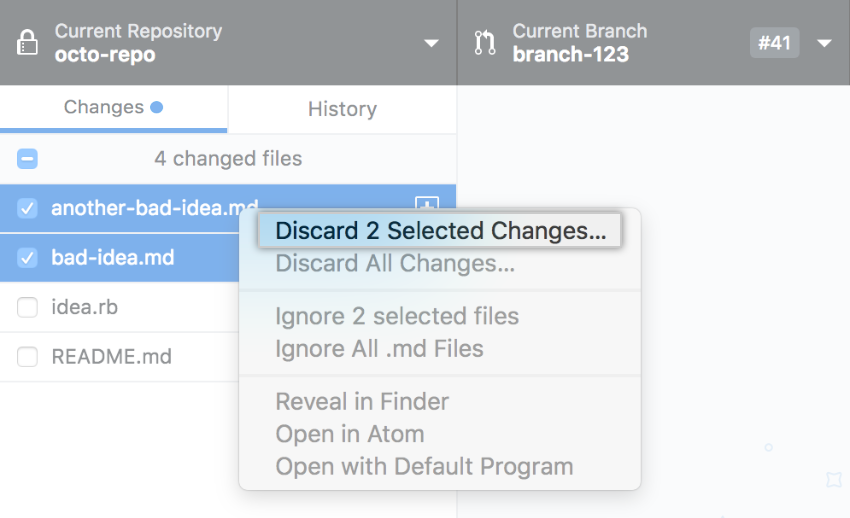
- To confirm the changes, review the files affected and click Discard Changes.

Tip: The changes you discarded are saved in a dated file in the Trash and you can recover them until the Trash is emptied.
- In the list of changed files, select the files where you want to discard the changes since the last commit. To select multiple files, click
shiftand click on the range of files you want to discard changes from.1. Click Discard Changes or Discard Selected Changes to discard changes to one or more files, or Discard All Changes to discard changes to all files since the last commit.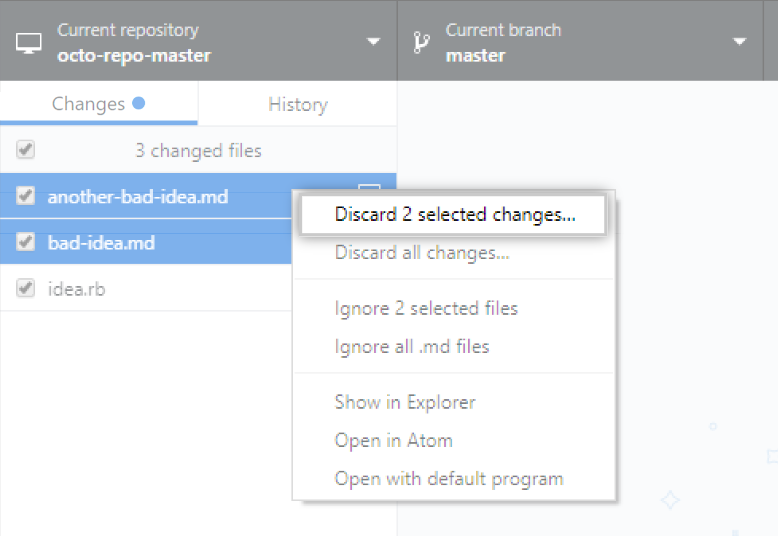
- To confirm the changes, review the files affected and click Discard Changes.
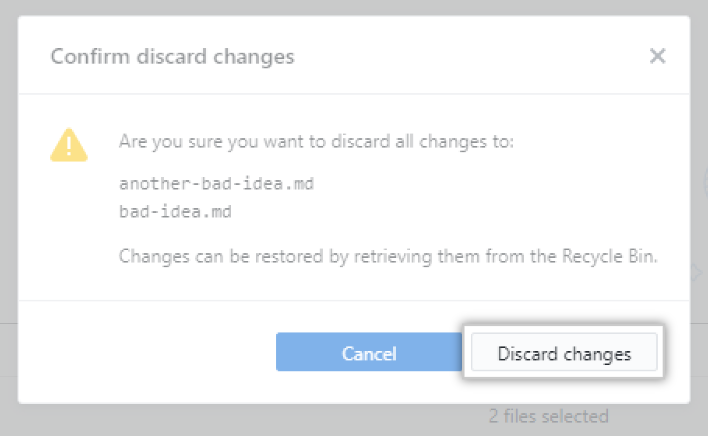
Tip: The changes you discarded are saved in a file in the Recycle Bin and you can recover them until it is emptied.
3. Write a commit message and push your changes
Once you're satisfied with the changes you've chosen to include in your commit, write your commit message and push your changes. If you've collaborated on a commit, you can also attribute a commit to more than one author.
Note: By default, GitHub Desktop will push the tag that you create to your repository with the associated commit. For more information, see "Managing tags."
-
At the bottom of the list of changes, in the Summary field, type a short, meaningful commit message. Optionally, you can add more information about the change in the Description field.
-
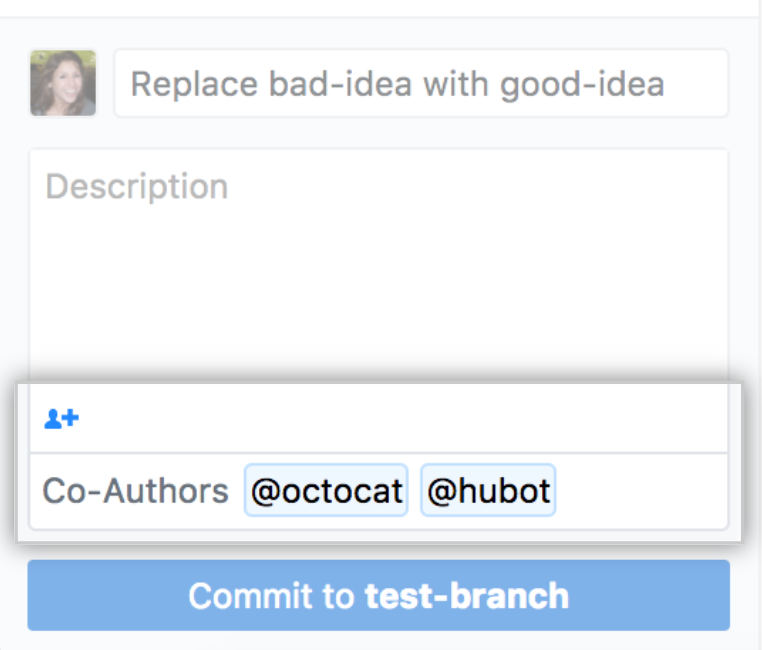
Optionally, to attribute a commit to another author, click the add co-authors icon and type the username(s) you want to include.
-
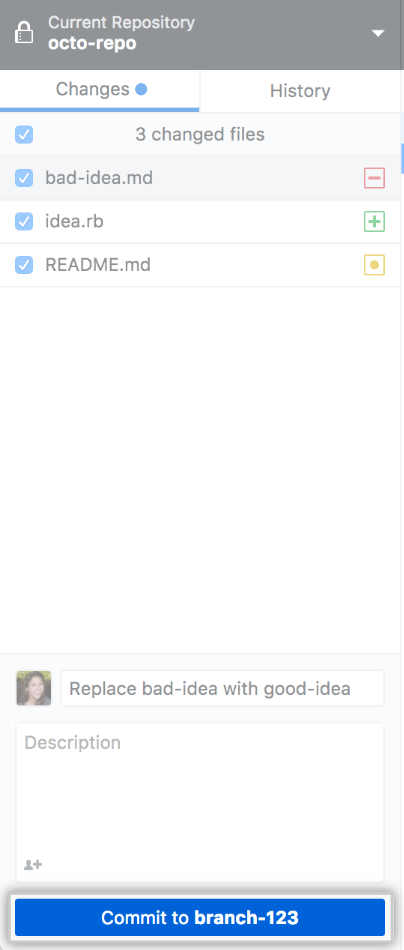
Under the Description field, click Commit to BRANCH.
-
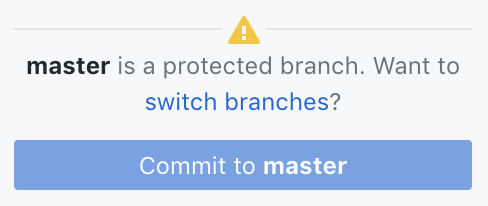
If the branch you're trying to commit to is protected, Desktop will warn you.
- To move your changes, click switch branches.
- To commit your changes to the protected branch, click Commit to BRANCH.
For more information about protected branches, see "About protected branches".
-
Click Push origin to push your local changes to the remote repository.
