You can use Markdown to format your message. For more information, see "About writing and formatting on GitHub."
Note: If you are using SAML for authentication, the sign in page is presented by your identity provider and is not customizable via GitHub Enterprise Server.
Creating a custom sign in message
- From a GitHub Enterprise Server administrative account, click in the upper-right corner of any page.

- In the left sidebar, click Enterprise overview.

- In the enterprise account sidebar, click Settings.

- Under Settings, click Messages.

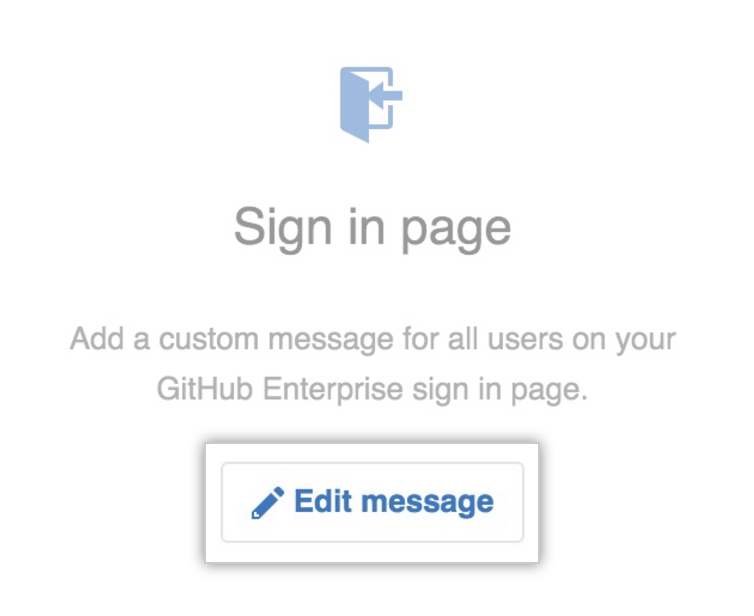
- Under "Sign in page", click Add message or Edit message.
- Under Sign in message, type the message you'd like users to see.

- To see the rendered message, click Preview.

- Review the rendered message.

- At the bottom of the page, click Save changes.

Creating a custom sign out message
- From a GitHub Enterprise Server administrative account, click in the upper-right corner of any page.
- In the left sidebar, click Enterprise overview.
- In the enterprise account sidebar, click Settings.
- Under Settings, click Messages.
- Under "Sign out page", click Add message or Edit message.

- Under Sign out message, type the message you'd like users to see.

- To see the rendered message, click Preview.

- Review the rendered message.

- At the bottom of the page, click Save changes.
Creating a global announcement banner
You can set a global announcement banner to be displayed to all users at the top of every page.
You can also set an announcement banner in the administrative shell using a command line utility. For more information, see "Command-line utilities."
- From a GitHub Enterprise Server administrative account, click in the upper-right corner of any page.
- In the left sidebar, click Enterprise overview.
- In the enterprise account sidebar, click Settings.
- Under Settings, click Messages.
- Under "Announcement", click Add announcement.

- Under "Announcement", in the text field, type the announcement you want displayed in a banner.

- Optionally, under "Expires on", use the calendar drop-down menu, and select an expiration date.

- Optionally, to see what the banner will look like, click Preview.

- Click Save changes.
