Note: Projects (beta) is currently in limited public beta. For more information, see GitHub Issues.
Introduction
This guide demonstrates how to use projects (beta) to plan and track work. In this guide, you will create a new project and add a custom field to track priorities for your tasks. You'll also learn how to create saved views that help you communicate priorities and progress with your collaborators.
Prerequisites
To create a project, you need a GitHub organization that is a part of the projects beta. For more information about creating an organization, see "Creating a new organization from scratch." For more information about the beta, see "About projects (beta)."
In this guide, you will add existing issues from repositories in your organization to your new project. For more information about creating issues, see "Creating an issue."
Creating a project
First, create a project from your organization’s project page.
-
On GitHub, navigate to the main page of your organization.
-
Click Projects.
-
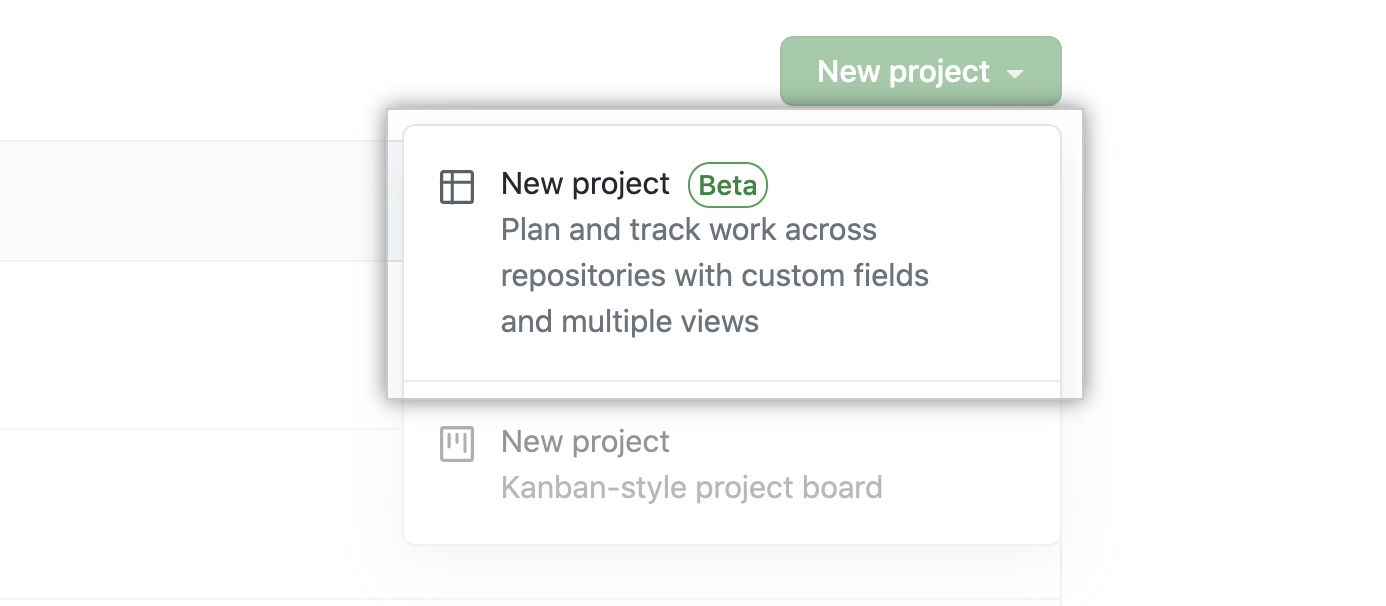
Select the New project drop-down menu and click New project (Beta).
Adding issues to your project
Next, add a few issues to your project.
When your new project initializes, it prompts you to add items to your project. If you lose this view or want to add more issues later, place your cursor in the bottom row of the project, next to the .
- Type
#. - Select the repository where your issue is located. To narrow down the options, you can start typing a part of the repository name.
- Select your issue. To narrow down the options, you can start typing a part of the issue title.
Repeat the above steps a few times to add multiple issues to your project.
For more information about other ways to add issues to your project, or about other items you can add to your project, see "Creating a project."
Creating a field to track priority
Now, create a custom field called Priority to contain the values: High, Medium, or Low.
- Enter
cmd + k(Mac) orctrl + k(Windows/Linux) to open the command palette. - Start typing any part of "Create new field".
- Select Create new field.
- In the resulting pop-up, enter
Priorityin the text box. - In the drop-down, select Single select.
- Add options for
High,Medium, andLow. You can also include emojis in your options.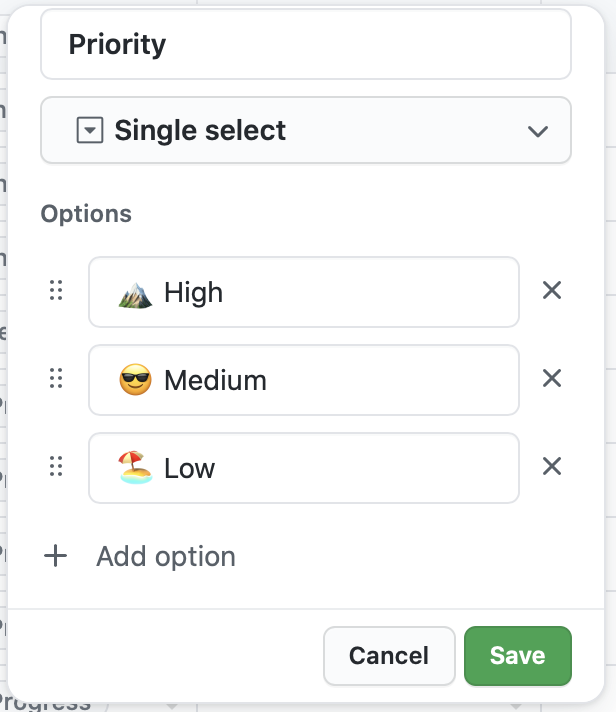
- Click Save.
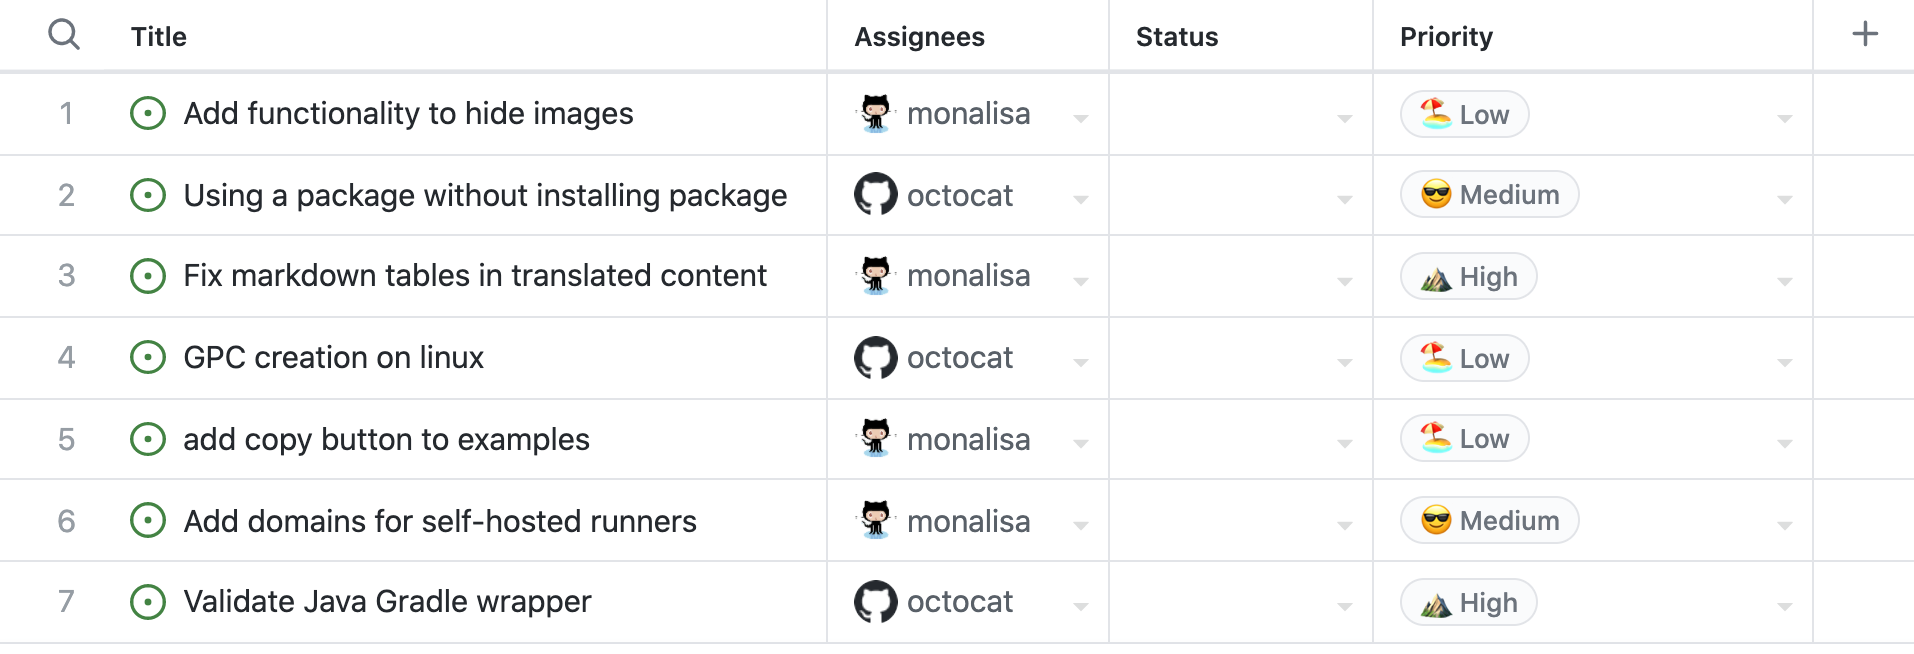
Specify a priority for all issues in your project.
Grouping issues by priority
Next, group all of the items in your project by priority to make it easier to focus on the high priority items.
- Enter
cmd + k(Mac) orctrl + k(Windows/Linux) to open the command palette. - Start typing any part of "Group by".
- Select Group by: Priority.
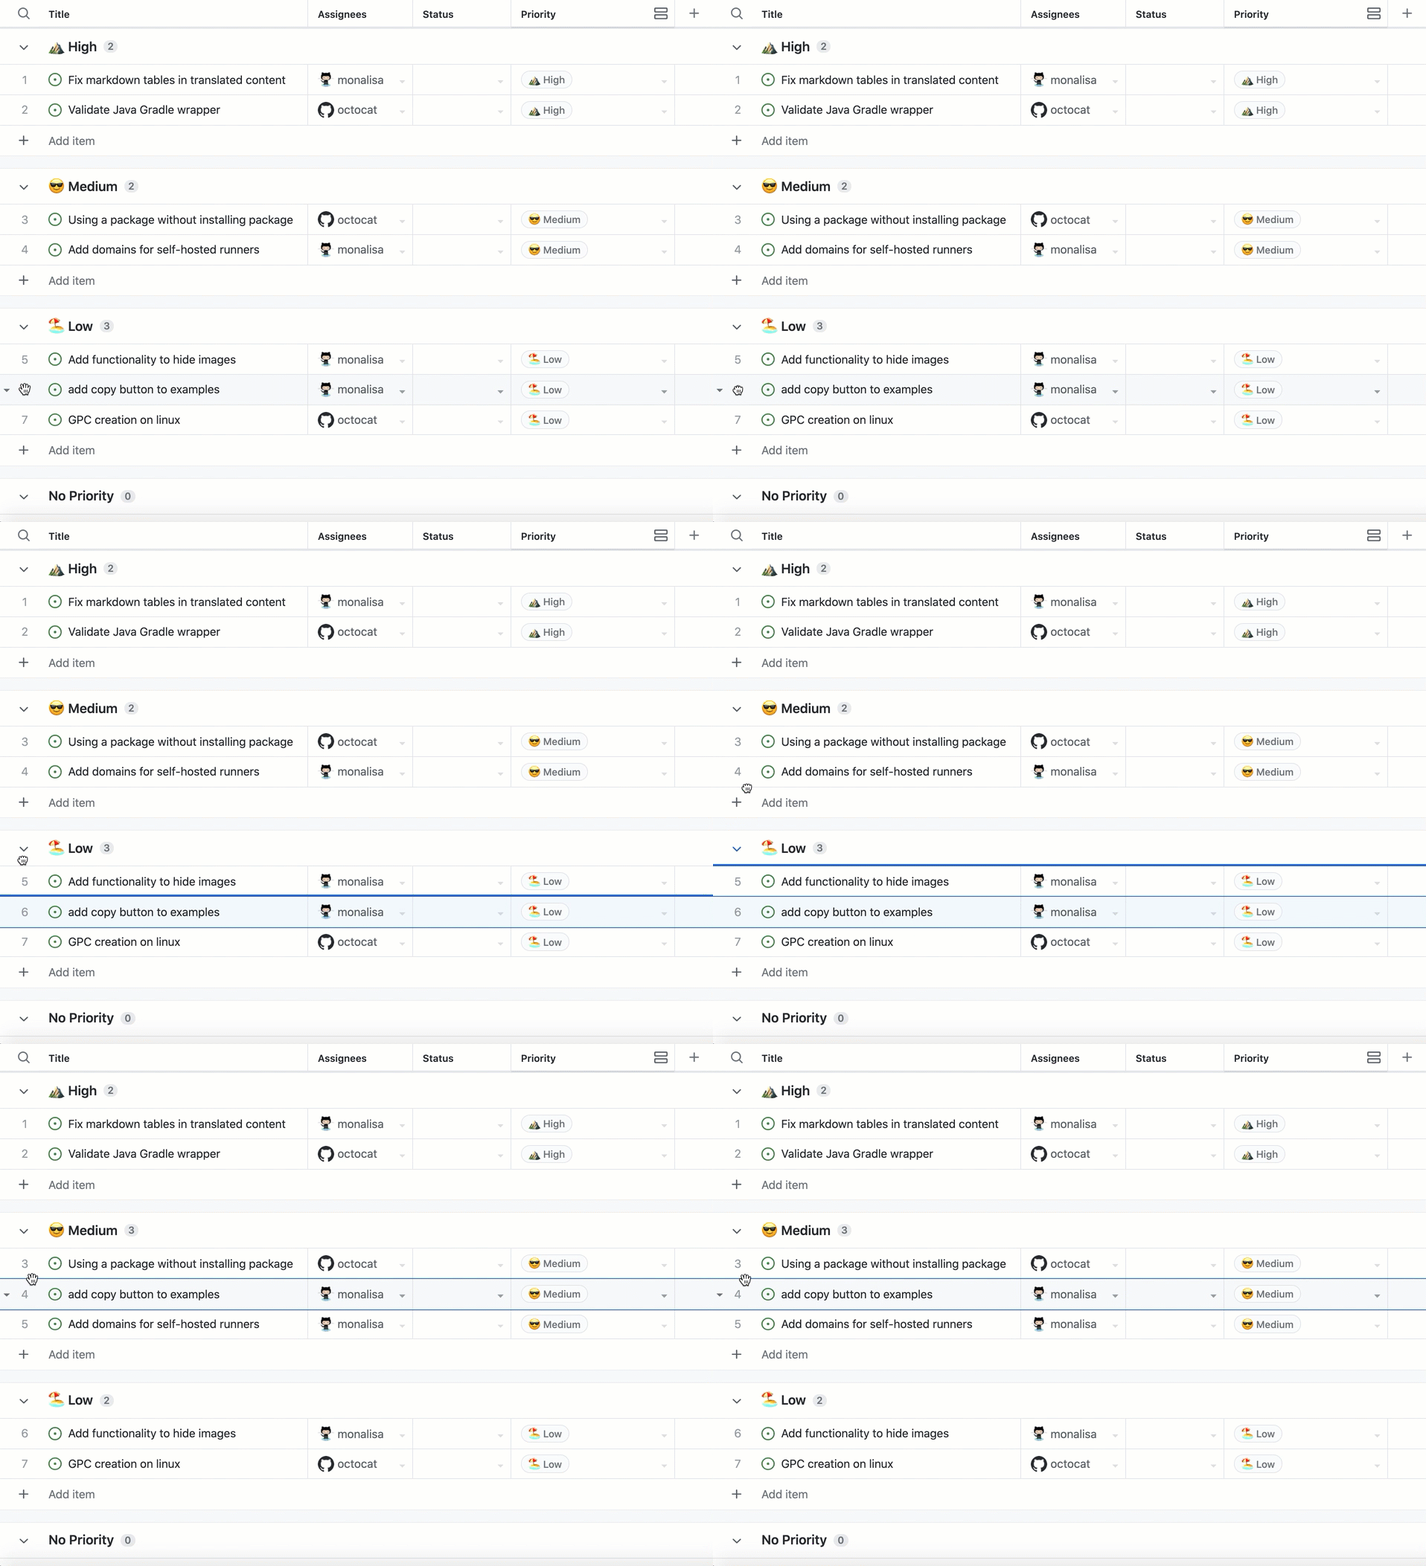
Now, move issues between groups to change their priority.
- Choose an issue.
- Drag and drop the issue into a different priority group. When you do this, the priority of the issue will change to be the priority of its new group.
Saving the priority view
When you grouped your issues by priority in the previous step, your project displayed an indicator to show that the view was modified. Save these changes so that your collaborators will also see the tasks grouped by priority.
- Select the drop-down menu next to the view name.
- Click Save changes.
To indicate the purpose of the view, give it a descriptive name.
- Place your cursor in the current view name, View 1.
- Replace the existing text with the new name,
Priorities.
You can share the URL with your team to keep everyone aligned on the project priorities.
When a view is saved, anyone who opens the project will see the saved view. Here, you grouped by priority, but you can also add other modifiers such as sort, filter, or layout. Next, you will create a new view with the layout modified.
Adding a board view
To view the progress of your project's issues, you can switch to board layout.
The board view is based on the status field, so specify a status for each issue in your project.
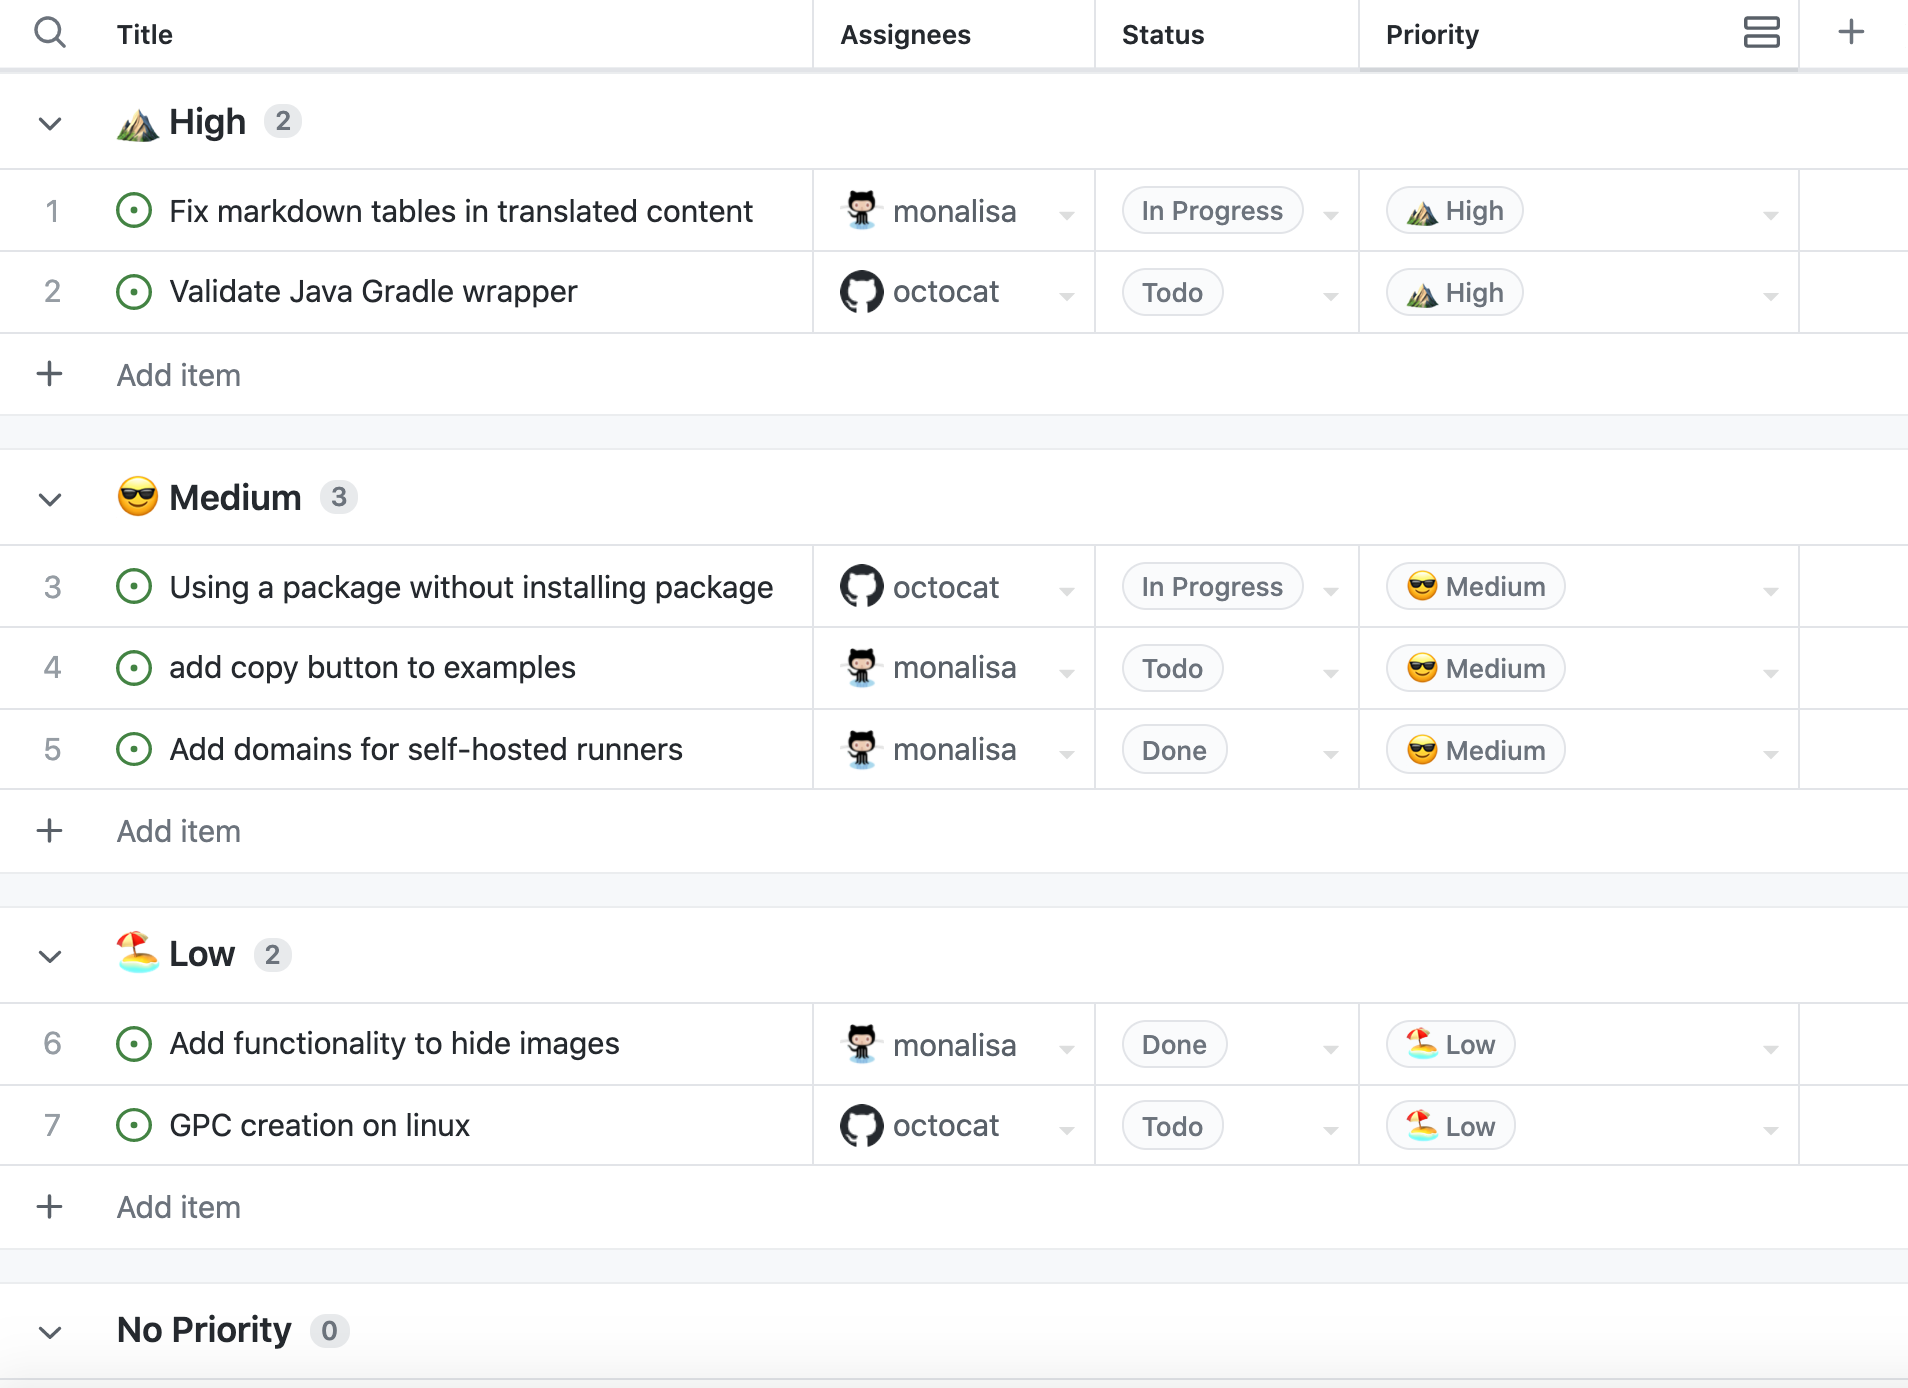
Then, create a new view.
- Click New view next to the rightmost view.
Next, switch to board layout.
- Enter
cmd + k(Mac) orctrl + k(Windows/Linux) to open the command palette. - Start typing any part of "Switch layout: Board".
- Select Switch layout: Board.
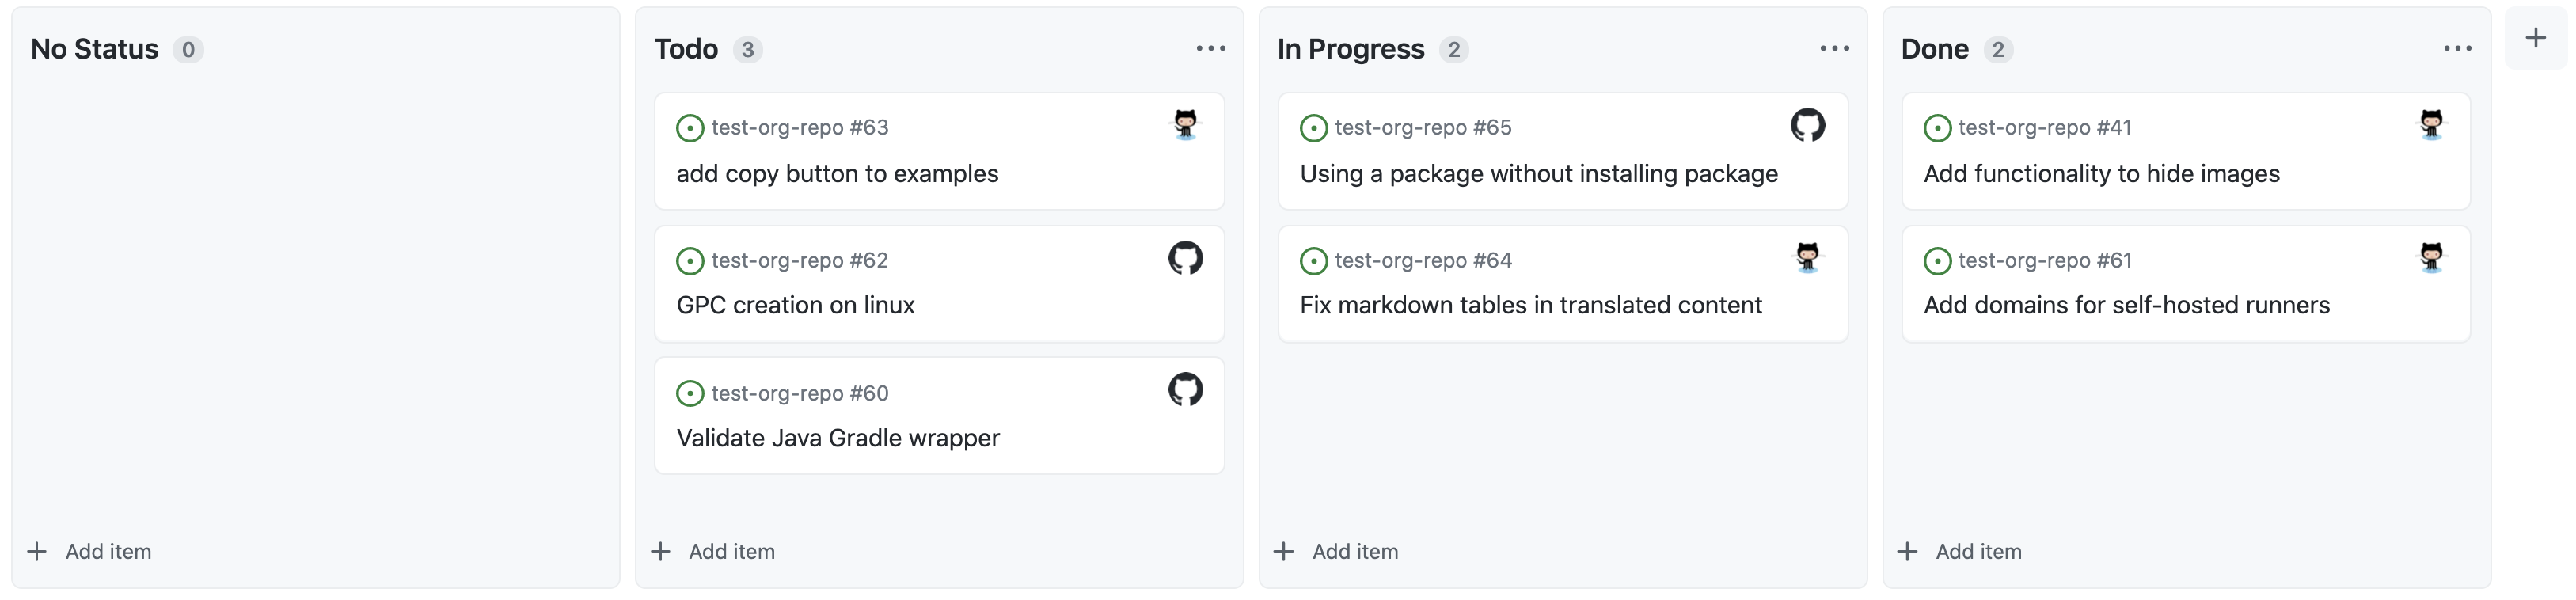
When you changed the layout, your project displayed an indicator to show that the view was modified. Save this view so that you and your collaborators can easily access it in the future.
- Select the drop-down menu next to the view name.
- Click Save changes.
To indicate the purpose of the view, give it a descriptive name.
- Place your cursor in the current view name, View 2.
- Replace the existing text with the new name,
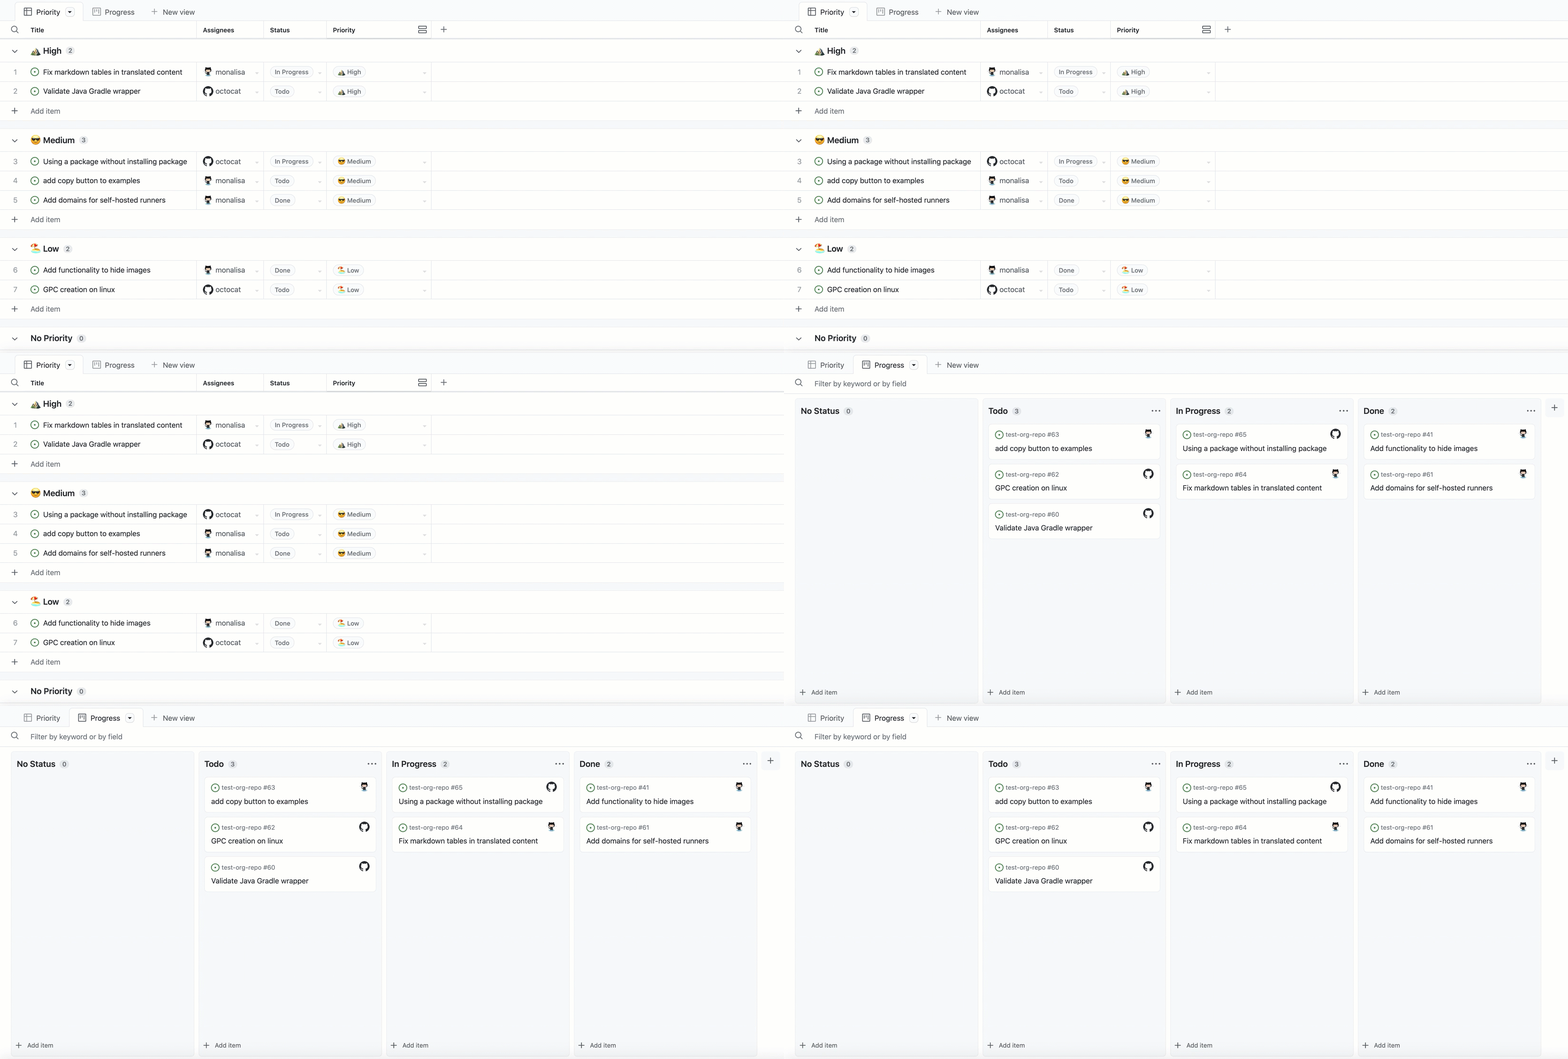
Progress.
Next steps
You can use projects for a wide range of purposes. For example:
- Track work for a release
- Plan a sprint
- Prioritize a backlog
Here are some helpful resources for taking your next steps with GitHub Issues:
- To provide feedback about the projects (beta) experience, go to the GitHub feedback repository.
- To learn more about how projects can help you with planning and tracking, see "About projects."
- To learn more about the fields and items you can add to your project, see "Creating a project."
- To learn about more ways to display the information you need, see "Customizing your project views."