Note: 秘密扫描 is enabled by default on public repositories and cannot be turned off. You can configure 秘密扫描 for your private repositories only.
Enabling 秘密扫描 for private repositories
Once enabled, 秘密扫描 将在 GitHub 仓库中存在的所有分支上扫描整个 Git 历史记录的任何密钥。
-
在 GitHub.com 上,导航到仓库的主页面。
-
在仓库名称下,单击 Settings(设置)。

-
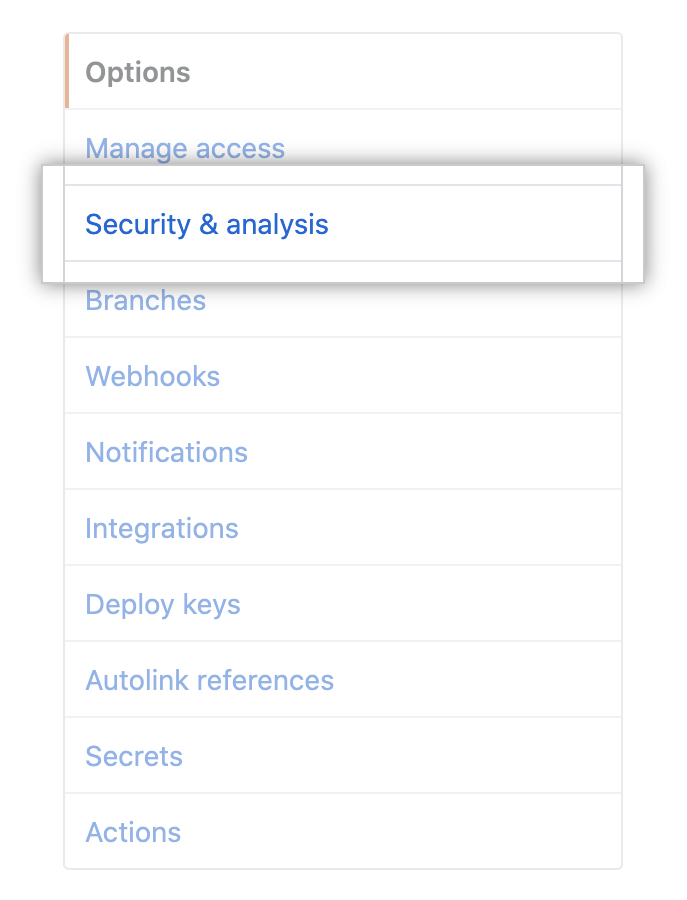
在左侧边栏中,单击 Security & analysis(安全和分析)。
-
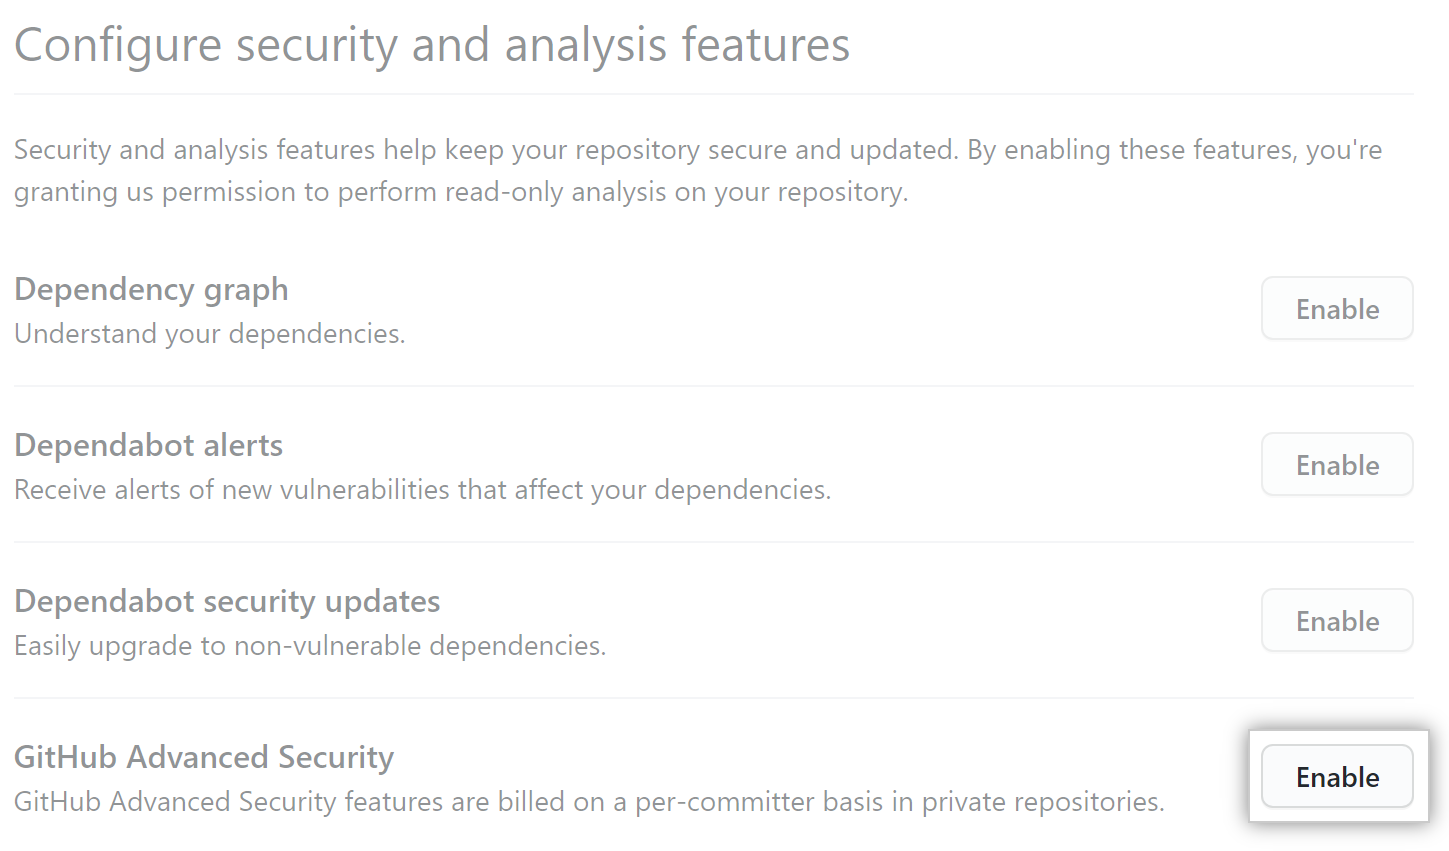
If Advanced Security is not already enabled for the repository, to the right of "GitHub Advanced Security", click Enable.
-
Review the impact of enabling Advanced Security, then click Enable GitHub Advanced Security for this repository.
-
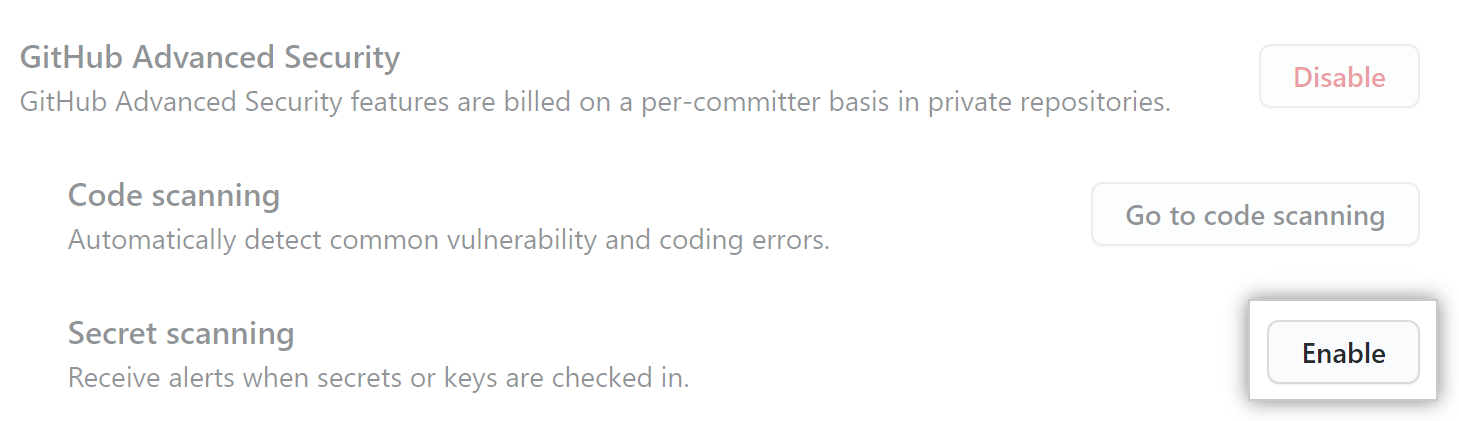
When you enable Advanced Security, 秘密扫描 may automatically be enabled for the repository due to the organization's settings. If "秘密扫描" is shown with an Enable button, you still need to enable 秘密扫描 by clicking Enable. If you see a Disable button, 秘密扫描 is already enabled.
Excluding alerts from 秘密扫描 in private repositories
You can use a secret_scanning.yml file to exclude directories from 秘密扫描. For example, you can exclude directories that contain tests or randomly generated content.
-
在 GitHub.com 上,导航到仓库的主页面。
-
在文件列表上方,使用 Add file(添加文件)下拉菜单,单击 Create new file(创建新文件)。

-
In the file name field, type .github/secret_scanning.yml.
-
Under Edit new file, type
paths-ignore:followed by the paths you want to exclude from 秘密扫描.paths-ignore: - "foo/bar/*.js"You can use special characters, such as
*to filter paths. For more information about filter patterns, see "Workflow syntax for GitHub Actions."Notes:
- If there are more than 1,000 entries in
paths-ignore, 秘密扫描 will only exclude the first 1,000 directories from scans. - If secret_scanning.yml is larger than 1 MB, 秘密扫描 will ignore the entire file.
- If there are more than 1,000 entries in
You can also ignore individual alerts from 秘密扫描. For more information, see "Managing alerts from 秘密扫描."