Configure a Spring Boot Initializer app to use Redis in the cloud with Azure Redis Cache
This article walks you through creating a Redis cache in the cloud using the Azure portal, then using the Spring Initializr to create a custom application, and then creating a Java web application that stores and retrieves data using your Redis cache.
Prerequisites
The following prerequisites are required in order to complete the steps in this article:
- An Azure subscription; if you don't already have an Azure subscription, you can activate your MSDN subscriber benefits or sign up for a free Azure account.
- A supported Java Development Kit (JDK). For more information about the JDKs available for use when developing on Azure, see Java support on Azure and Azure Stack.
- Apache Maven, version 3.0 or later.
Create a custom application using the Spring Initializr
Browse to https://start.spring.io/.
Specify that you want to generate a Maven project with Java, select Java version 8, and enter the Group and Artifact names for your application.
Add dependencies for Spring Web section and check the box for Web, then scroll down to the NoSQL section and check the box for Spring Data Reactive Redis.
Scroll to the bottom of the page and click the button to Generate Project.

Note
The Spring Initializr will use the Group and Artifact names to create the package name; for example: com.contoso.myazuredemo.
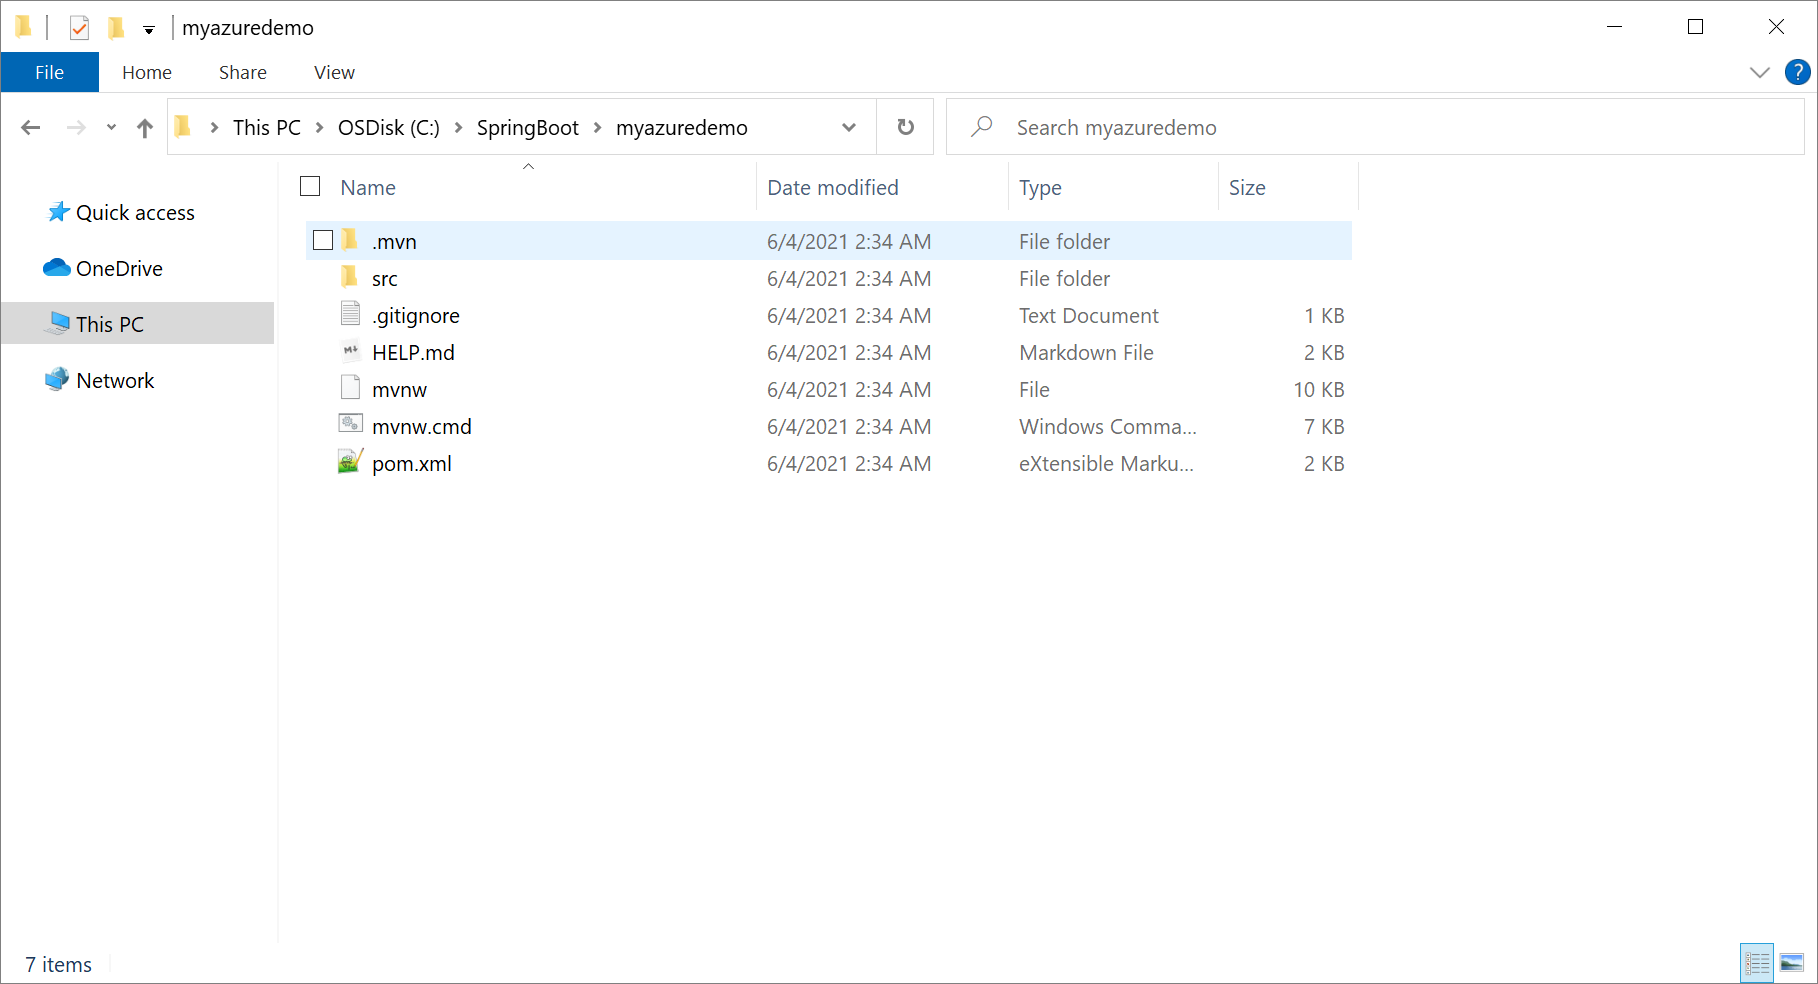
After you have extracted the files on your local system, your custom Spring Boot application will be ready for editing.
Create a Redis cache on Azure
Browse to the Azure portal at https://portal.azure.com/ and click +New.
Click Database, and then click Redis Cache.
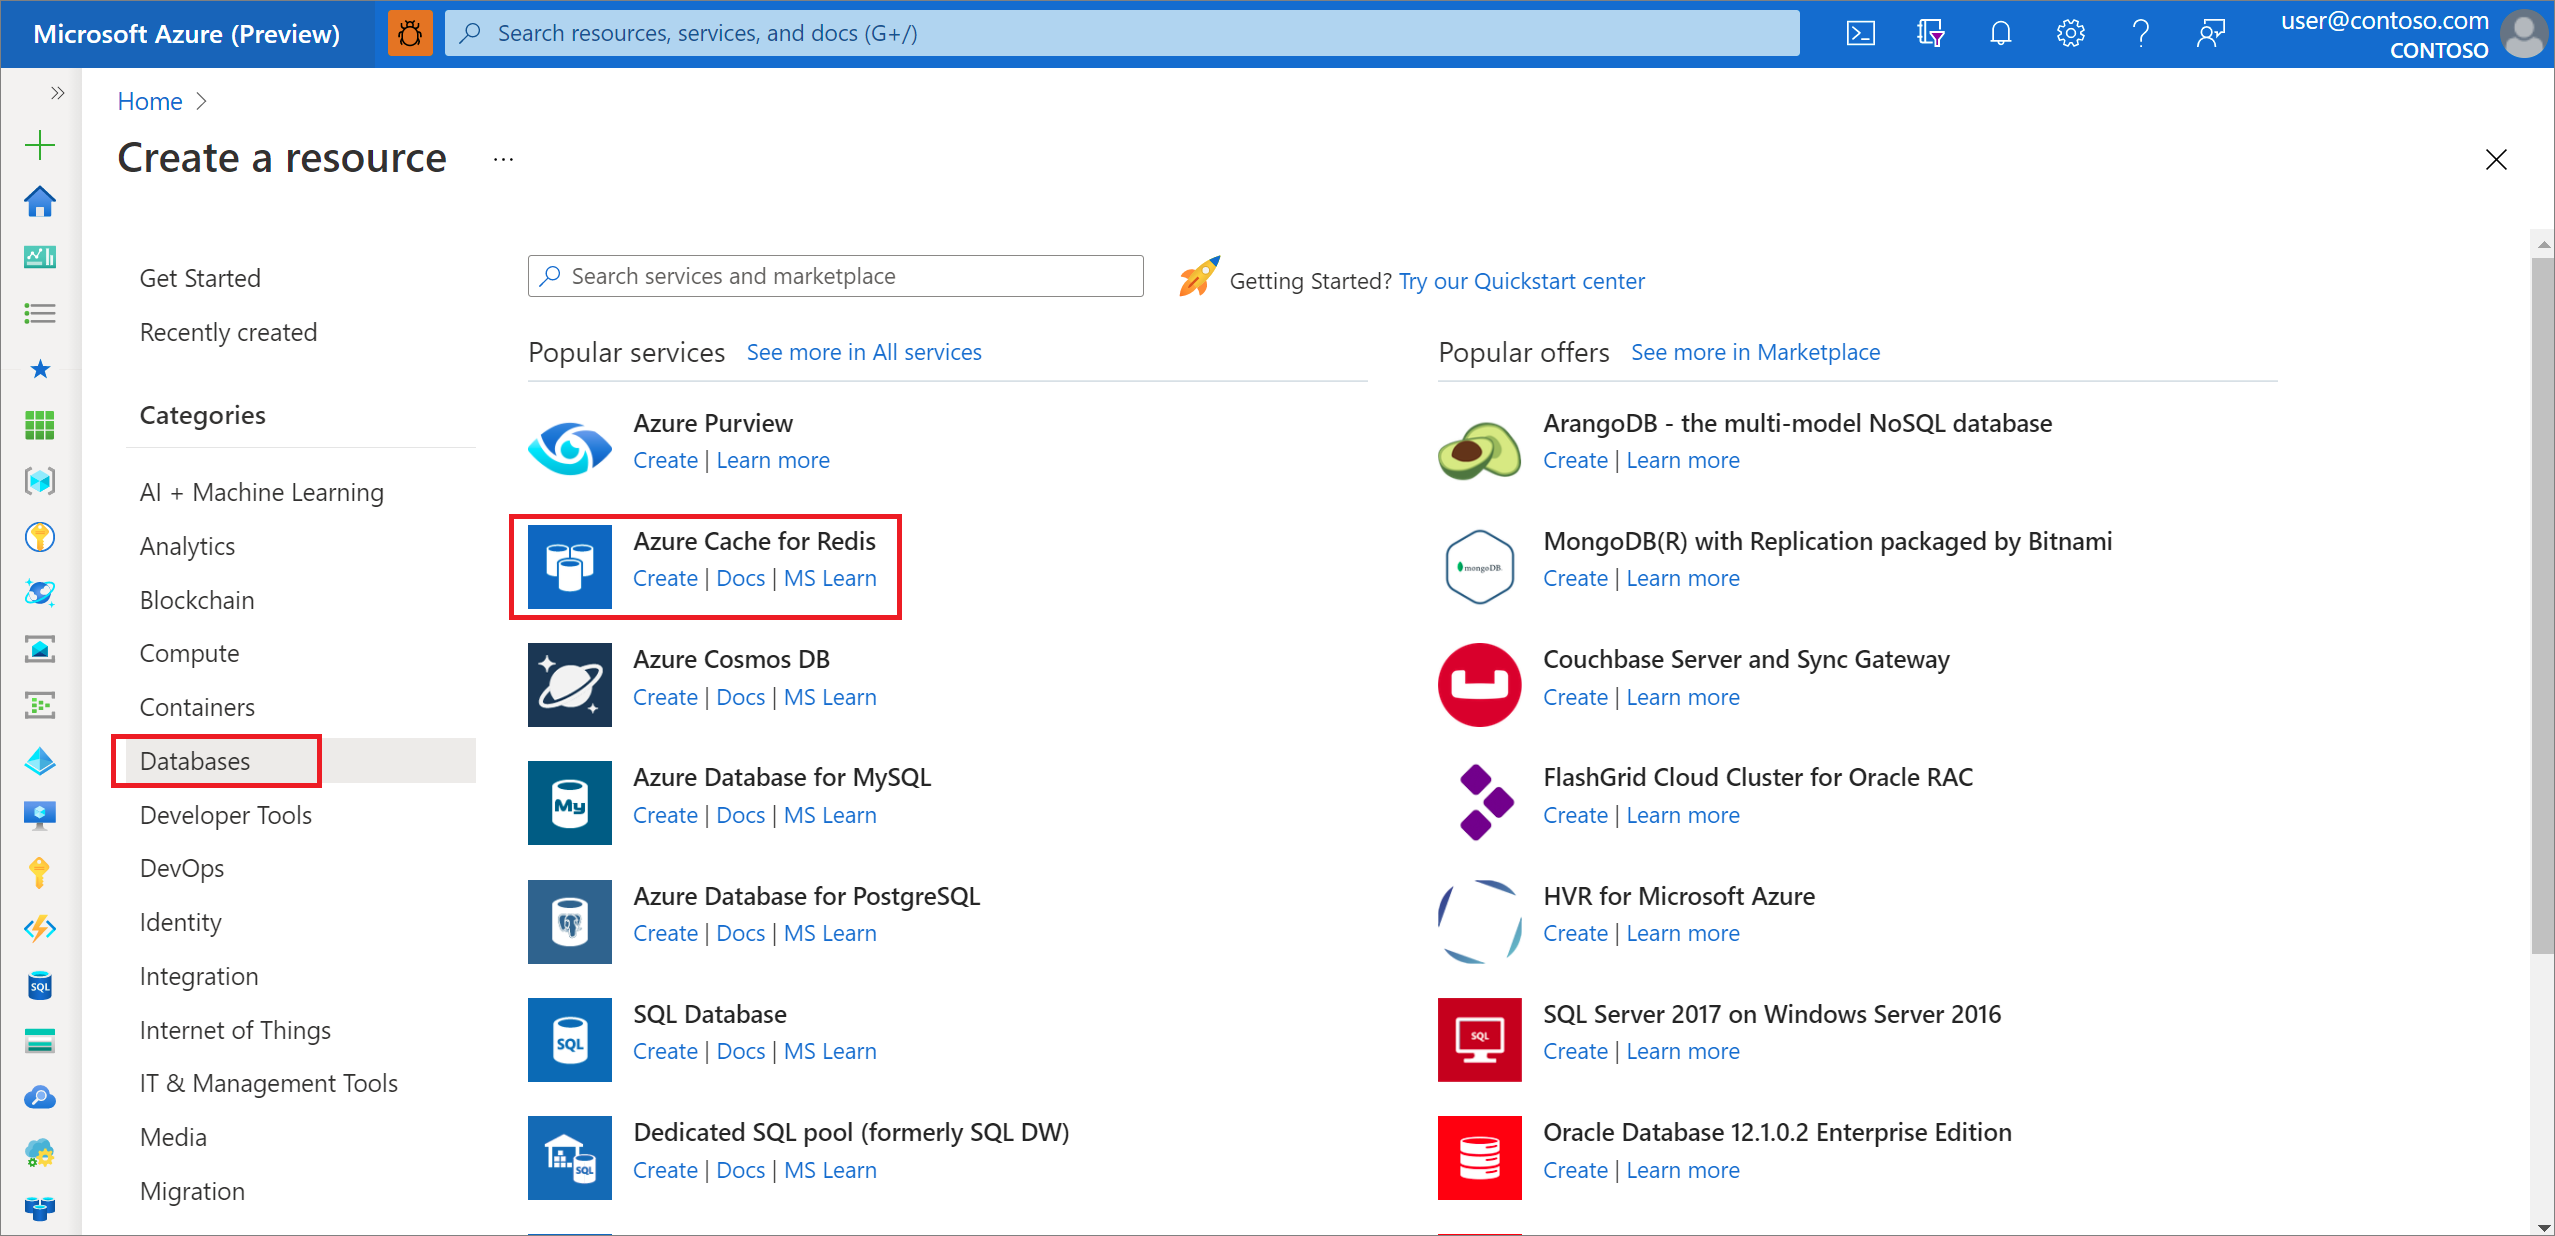
On the New Redis Cache page, specify the following information:
- Enter the DNS name for your cache.
- Specify your Subscription, Resource group, Location, and Cache type.
Note
You can use SSL with Redis caches, but you would need to use a different Redis client like Jedis. For more information, see How to use Azure Redis Cache with Java.
When you have specified these options, select Advanced tab.

Select the checkbox next to Non-TLS port, then select Review + create, review your specifications, and select Create.

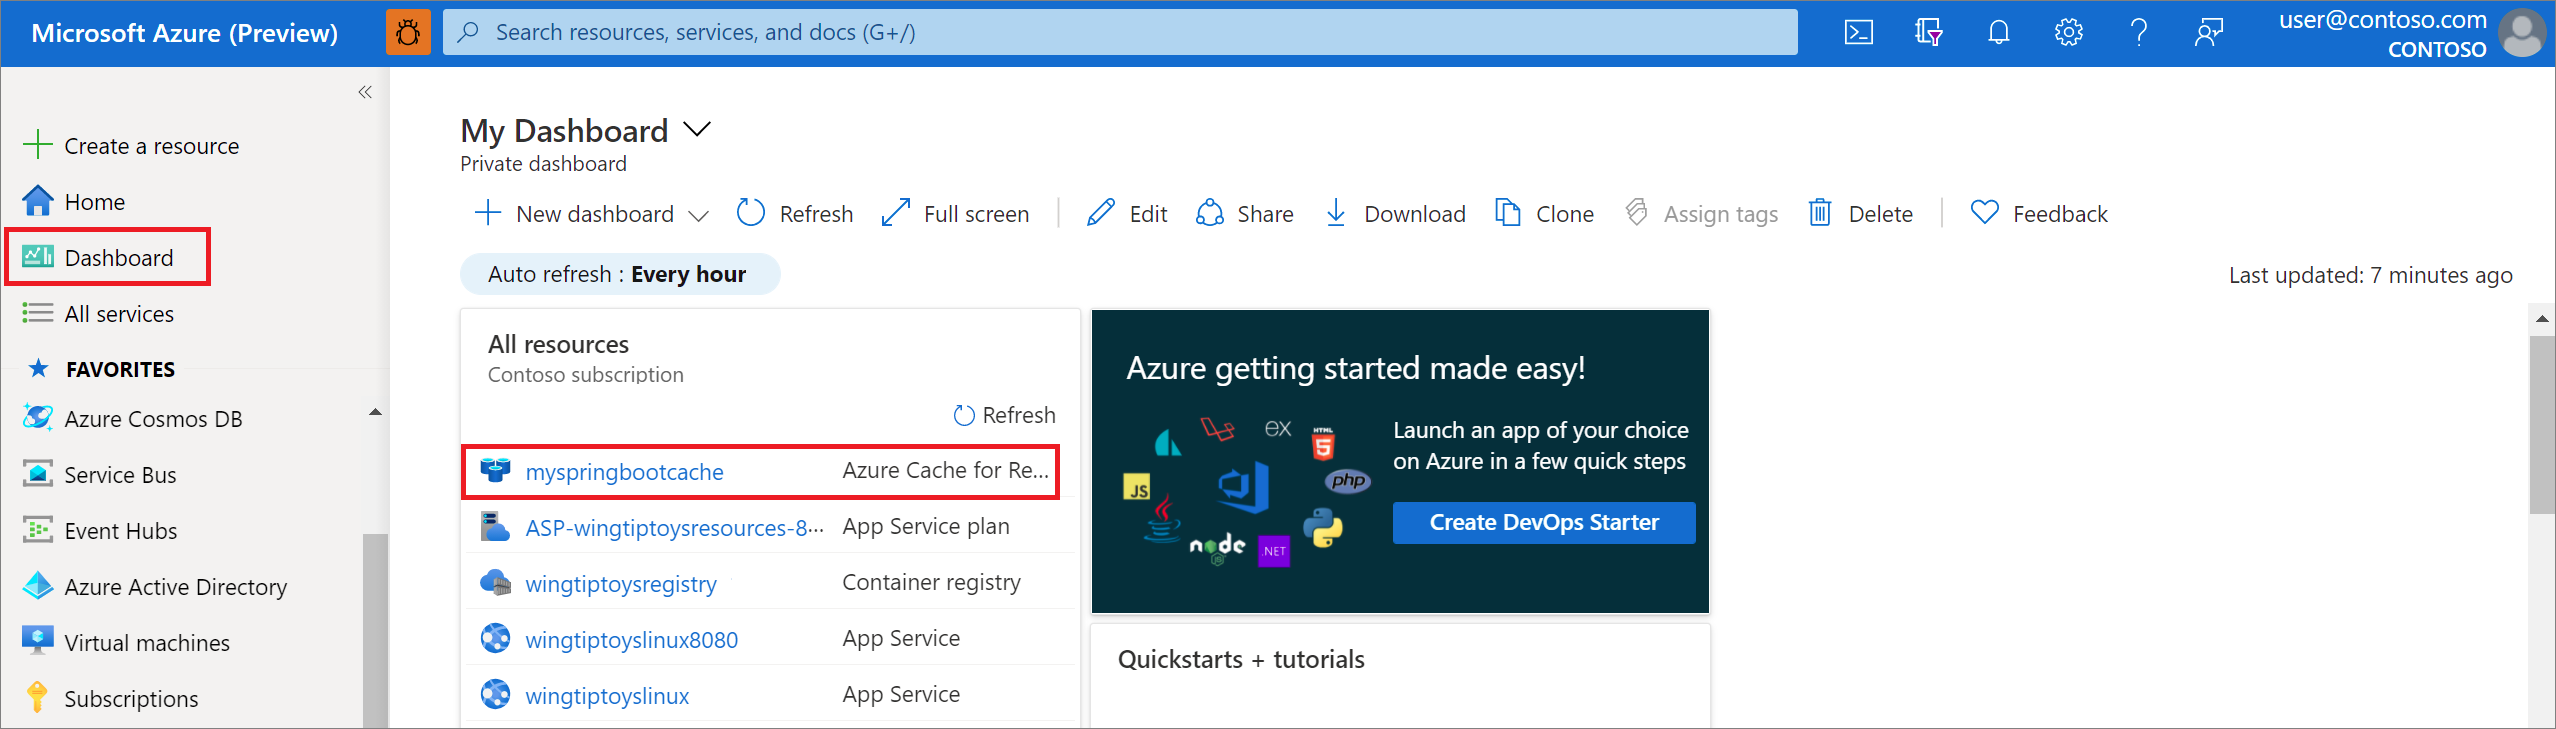
Once your cache has been completed, you will see it listed on your Azure Dashboard, as well as under the All Resources, and Redis Caches pages. You can click on your cache on any of those locations to open the properties page for your cache.
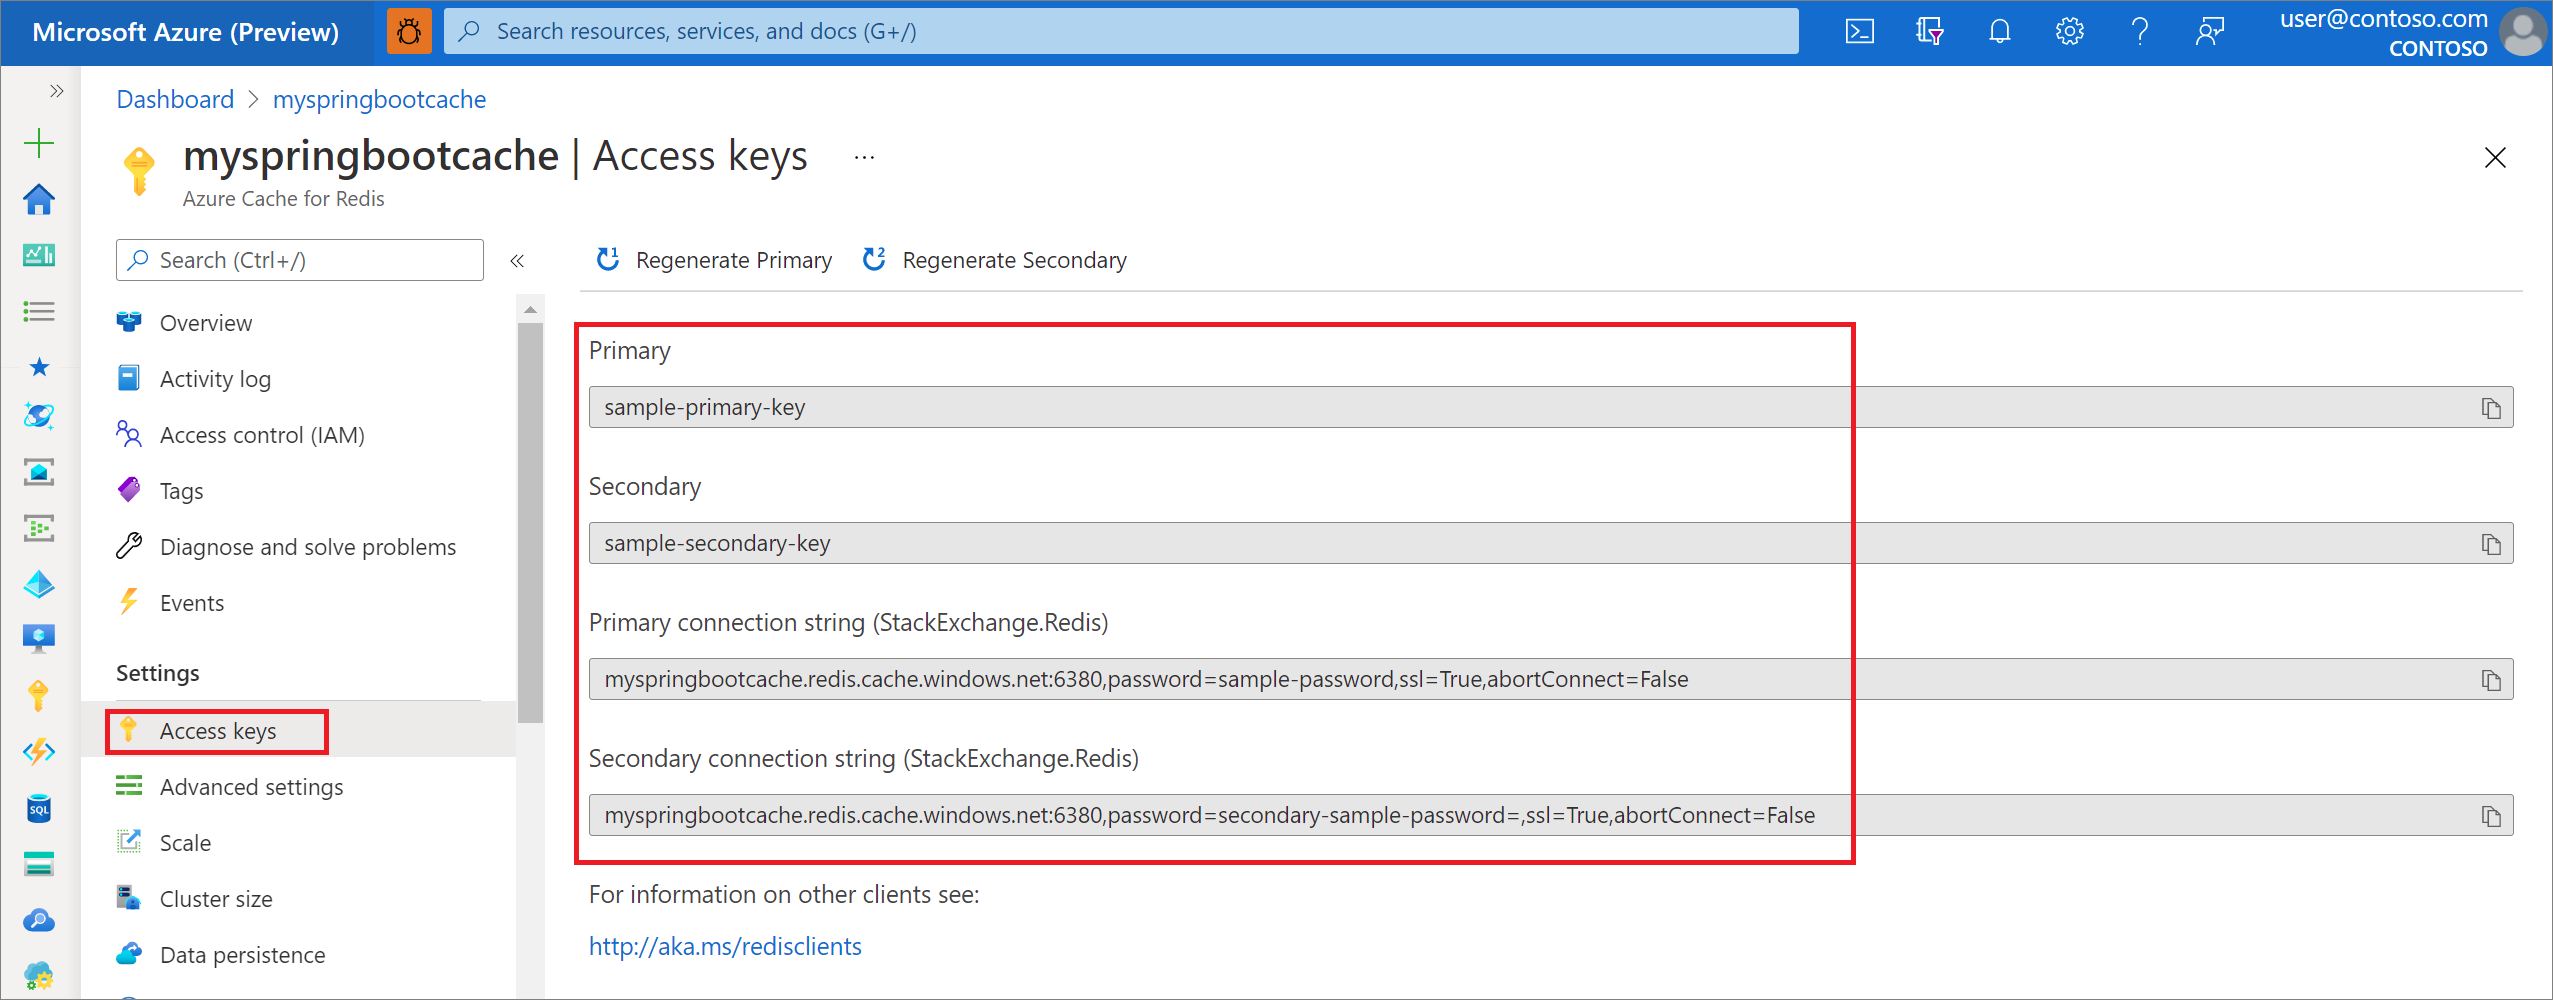
When the page that contains the list of properties for your cache is displayed, click Access keys and copy your access keys for your cache.
Configure your custom Spring Boot to use your Redis Cache
Locate the application.properties file in the resources directory of your app, or create the file if it does not already exist.
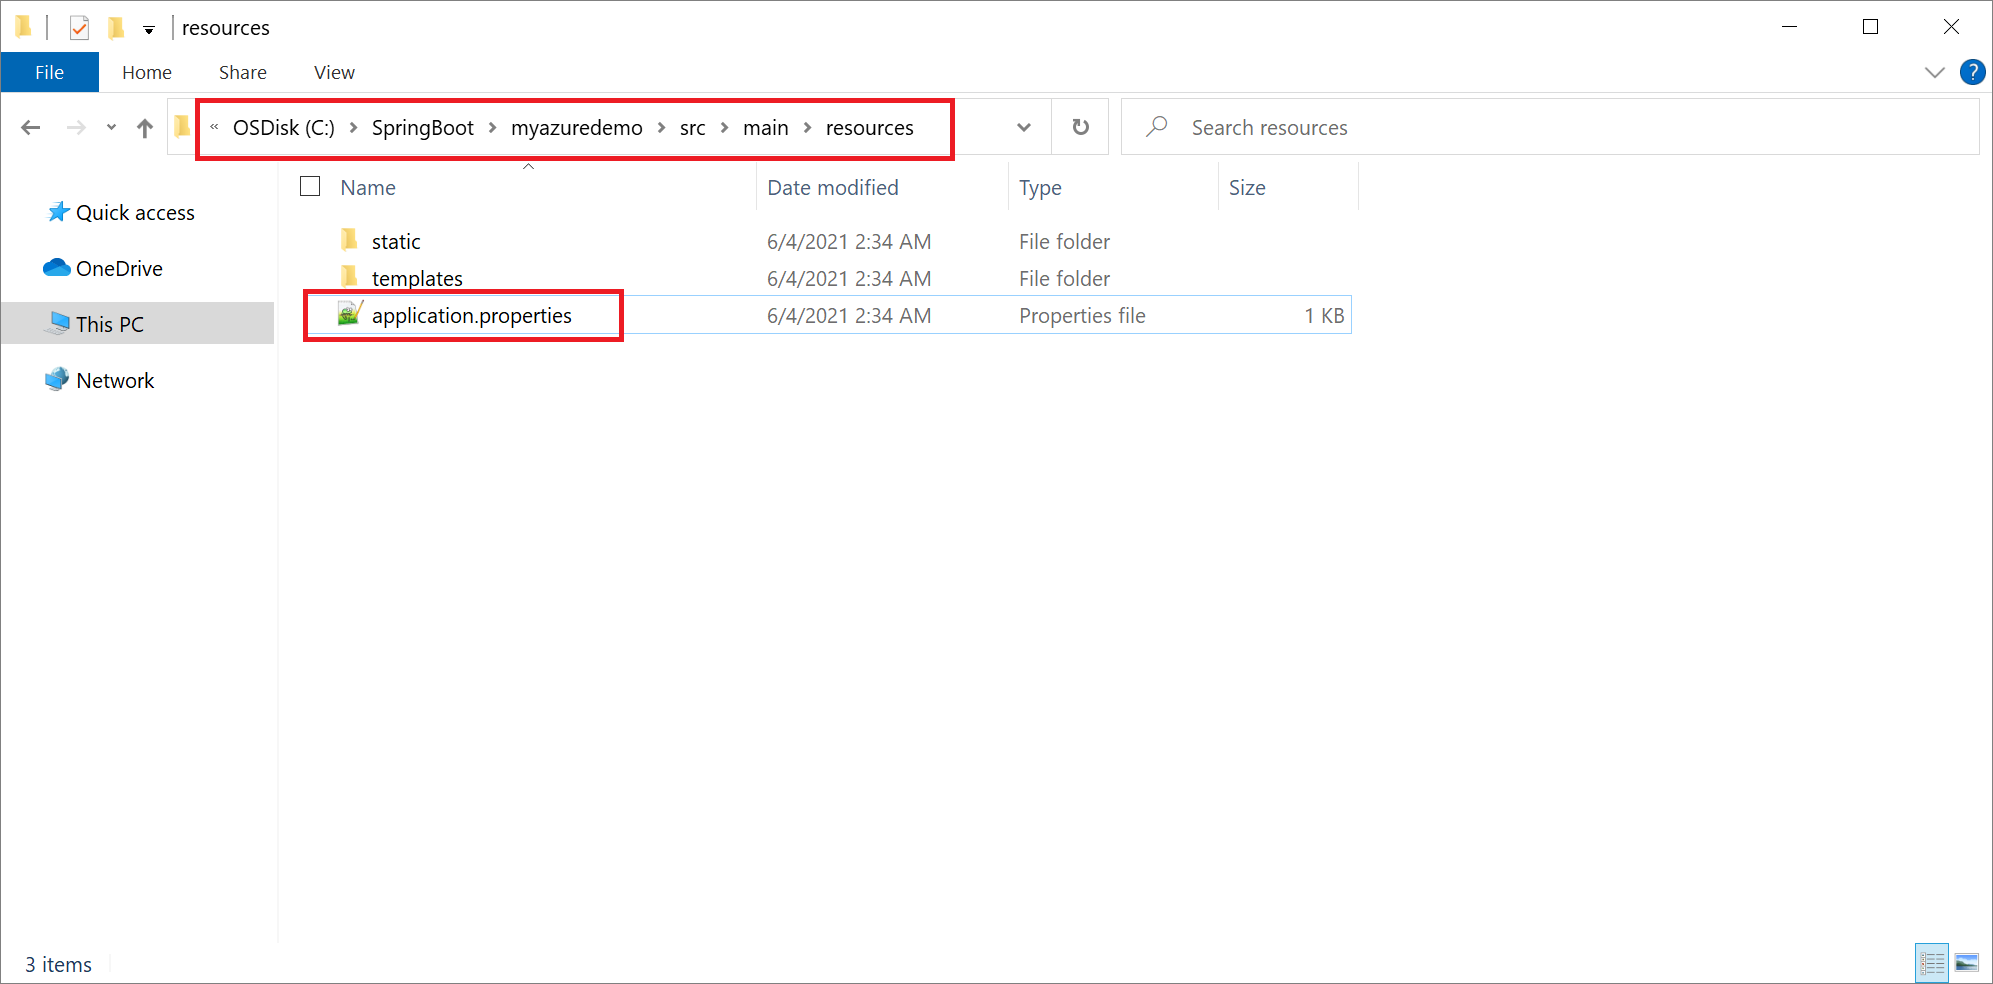
Open the application.properties file in a text editor, and add the following lines to the file, and replace the sample values with the appropriate properties from your cache:
# Specify the DNS URI of your Redis cache.
spring.redis.host=myspringbootcache.redis.cache.windows.net

# Specify the port for your Redis cache.
spring.redis.port=6379

# Specify the access key for your Redis cache.
spring.redis.password=<your-redis-access-key>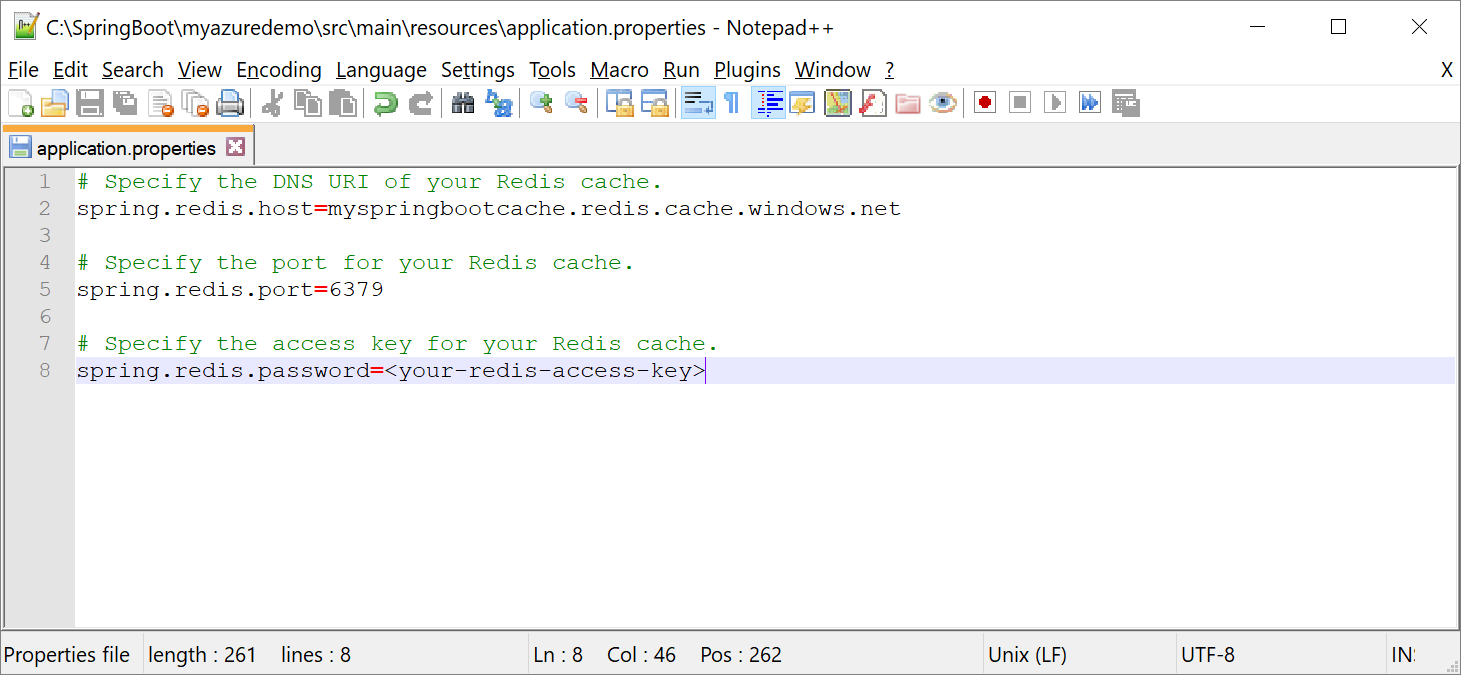
Note
If you were using a different Redis client like Jedis that enables SSL, you would specify that you want to use SSL in your application.properties file and use port 6380. For example:
# Specify the DNS URI of your Redis cache.
spring.redis.host=myspringbootcache.redis.cache.windows.net
# Specify the access key for your Redis cache.
spring.redis.password=<your-redis-access-key>
# Specify that you want to use SSL.
spring.redis.ssl=true
# Specify the SSL port for your Redis cache.
spring.redis.port=6380
For more information, see How to use Azure Redis Cache with Java.
Save and close the application.properties file.
Create a folder named controller under the source folder for your package; for example:
C:\SpringBoot\myazuredemo\src\main\java\com\contoso\myazuredemo\controller-or-
/users/example/home/myazuredemo/src/main/java/com/contoso/myazuredemo/controllerCreate a new file named HelloController.java in the controller folder. Open the file in a text editor and add the following code to it:
package com.contoso.myazuredemo;

import org.springframework.web.bind.annotation.RequestMapping;
import org.springframework.web.bind.annotation.RestController;
import org.springframework.beans.factory.annotation.Autowired;
import org.springframework.boot.SpringApplication;
import org.springframework.boot.autoconfigure.SpringBootApplication;
import org.springframework.data.redis.core.StringRedisTemplate;
import org.springframework.data.redis.core.ValueOperations;

@RestController
public class HelloController {

   @Autowired
   private StringRedisTemplate template;

   @RequestMapping("/")
   // Define the Hello World controller.
   public String hello() {

      ValueOperations<String, String> ops = this.template.opsForValue();

      // Add a Hello World string to your cache.
      String key = "greeting";
      if (!this.template.hasKey(key)) {
          ops.set(key, "Hello World!");
      }

      // Return the string from your cache.
      return ops.get(key);
   }
}
Where you will need to replace
com.contoso.myazuredemowith the package name for your project.Save and close the HelloController.java file.
Build your Spring Boot application with Maven and run it; for example:
mvn clean package
mvn spring-boot:run
Test the web app by browsing to
http://localhost:8080using a web browser, or use the syntax like the following example if you have curl available:curl http://localhost:8080You should see the "Hello World!" message from your sample controller displayed, which is being retrieved dynamically from your Redis cache.
Next steps
To learn more about Spring and Azure, continue to the Spring on Azure documentation center.
Additional Resources
For more information about using Spring Boot applications on Azure, see the following articles:
Deploy a Spring Boot application to Linux on Azure App Service
Running a Spring Boot Application on a Kubernetes Cluster in the Azure Container Service
For more information about using Azure with Java, see the Azure for Java Developers and the Working with Azure DevOps and Java.
For more information about getting started using Redis Cache with Java on Azure, see How to use Azure Redis Cache with Java.
The Spring Framework is an open-source solution that helps Java developers create enterprise-level applications. One of the more-popular projects that is built on top of that platform is Spring Boot, which provides a simplified approach for creating stand-alone Java applications. To help developers get started with Spring Boot, several sample Spring Boot packages are available at https://github.com/spring-guides/. In addition to choosing from the list of basic Spring Boot projects, the Spring Initializr helps developers get started with creating custom Spring Boot applications.
Feedback
Submit and view feedback for